Roughcasting Installation
PREPARATION STAGE
Building undergoes a full Hammer test to ascertain what areas are boss and in need of removal.
Hack off and Dub Out any defective render, this includes any protruding Bellcast
Fungicidal wash applied and manually agitated, if required, to kill live fungus, mildew, algae, moss etc.
All these areas will be reinstated with a Polymer Modified Basecoat.
They will also be reinforced with an Alkali resistant Fibreglass mesh and adhesive coat. Which will be be applied in two passes
All other stressed areas will be supported with the fibreglass mesh.
APPLICATION STAGE
Full system beads will be applied to the substrate. (Powder coated galvanised, Bellcagasst, Angle, Expansion and Stop Beads)This will give a clean striaght-edged finish to the building
Where the new render will meet any different materials, e.g Window Frames, Roofline, Glassboxes, Downpipes Etc, a bead of silicone mastic will be applied. This fully and protects these items.
Overcills and any Smooth Band finishes will be applied at this stage if required and specified
Enewall Acrylic Exposed Aggregate Render is then troweled on between 8-10mm. This will provide an excellent finish for the years to come
The chosen dash is then applied by hand while the dash receiver is still wet
SIGN OFF
The entire area will be cleaned down and tidied up prior to the installation manager walking around the site and making sure the job is completed to the highest standard
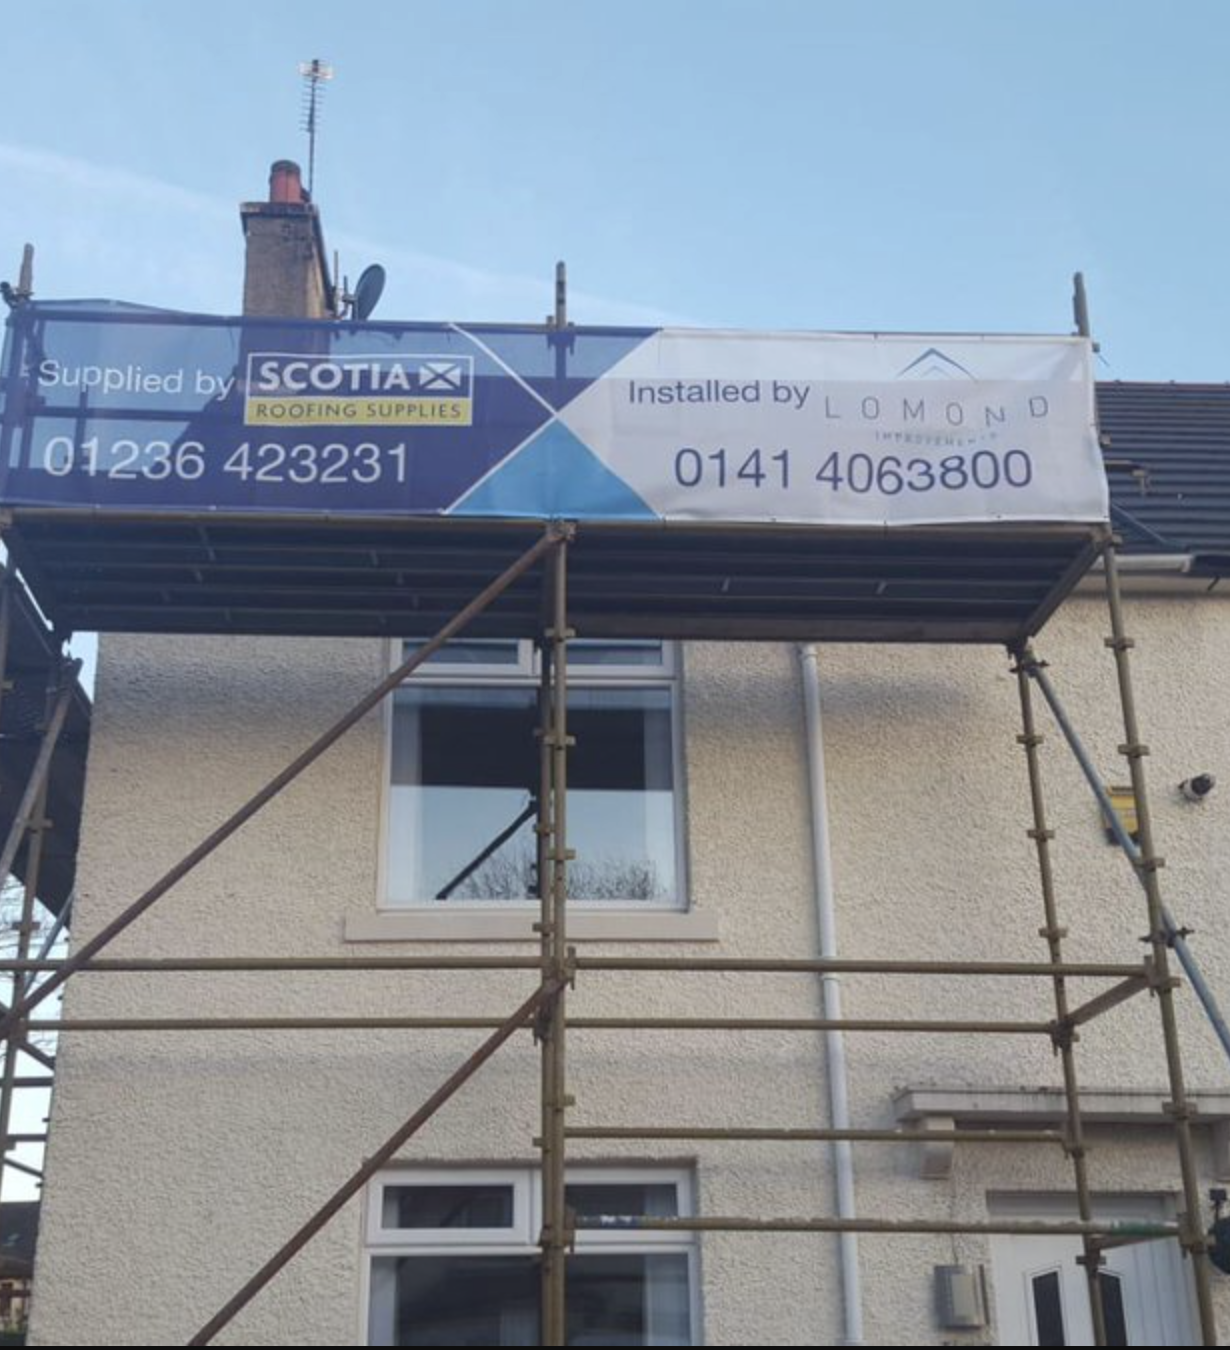
When the sign off it complete the scaffolding will be taken down safety to ensure the finish of your new roughcast
A second cleanup will take place to remove any residual debris
By following this stringent process we can guarantee the finish on all our render applications for 10 years
If you opt for the EWI upgrade these systems have a usable lifespan of well over 60 years.


